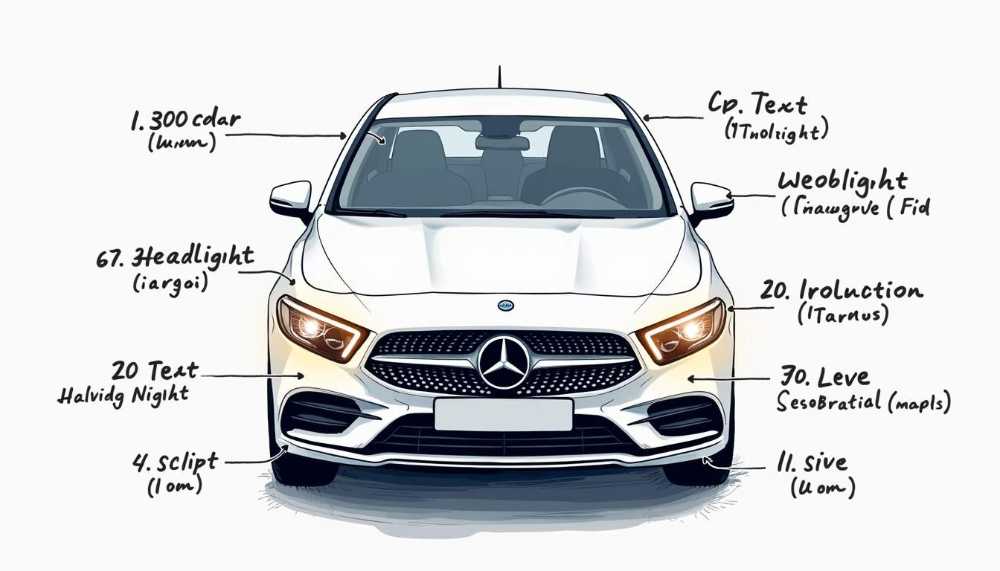
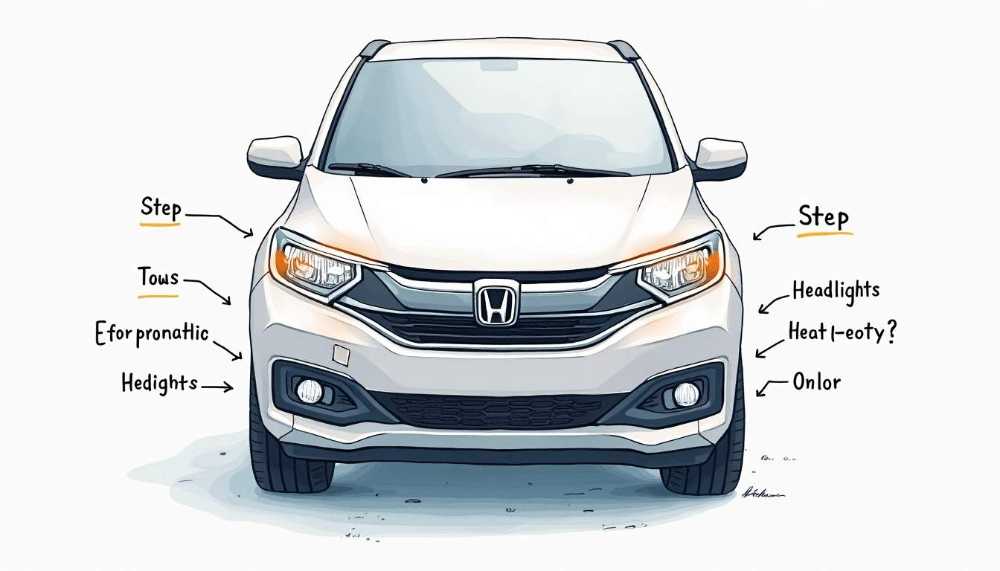
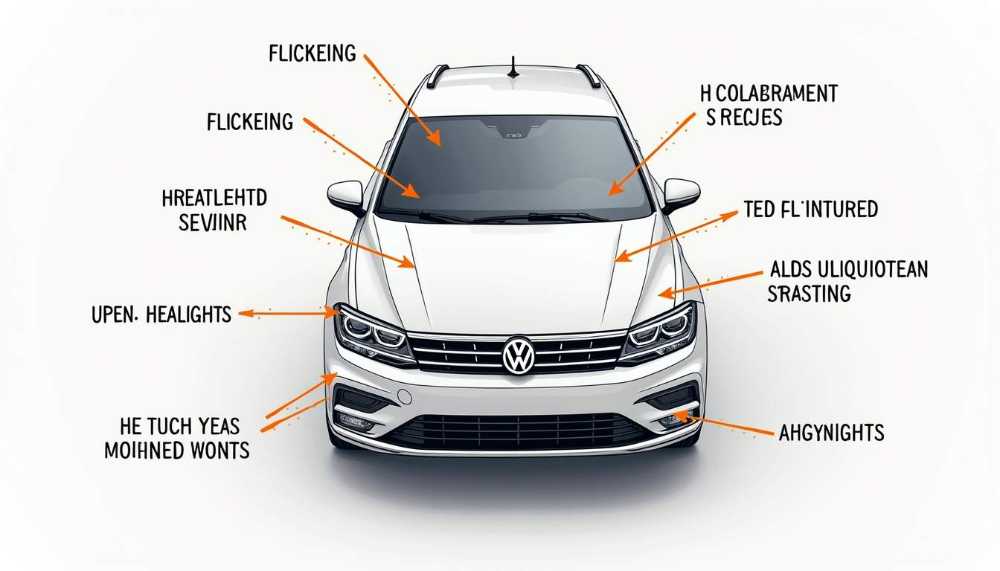
Installing LED headlights can dramatically enhance your vehicle's visibility and safety while driving at night or in poor weather conditions. However, achieving maximum performance from your headlights requires understanding the fundamentals of LED technology, knowing the right tools, and following proper installation steps. This guide will cover everything you need to know for a successful installation.
Understanding the Basics of LED Headlights
Before diving into the installation process, it's crucial to understand what LED headlights are and how they work. This knowledge not only helps in the installation process but also ensures that you understand the performance characteristics of these lights.
What are LED Headlights?
LED headlights, or Light Emitting Diode headlights, use semiconductor technology to produce light. These headlights are different from traditional halogen or xenon lights in that they don’t rely on a filament to generate light. Instead, the electricity passes through a chip, emitting light directly from the semiconductor material. This innovative technology allows for a more compact design, which can be beneficial for modern vehicles that require sleek and efficient lighting solutions.
Benefits of LED Headlights
One of the principal advantages of LED headlights is their energy efficiency. They consume less power than traditional headlights, leading to less strain on your vehicle's electrical system. Additionally, LED headlights have a longer lifespan, often lasting up to 25,000 hours or more. This longevity means fewer replacements and lower maintenance costs over time, making them a cost-effective choice for many drivers.
Another significant benefit is their brightness. LED headlights provide a brighter and whiter light, which enhances visibility considerably compared to older technologies. Furthermore, they feature faster illumination, which can improve reaction time in low-light situations. The ability to see and be seen is paramount for safety, and LED headlights excel in this regard, especially in adverse weather conditions such as rain or fog.
How LED Headlights Improve Visibility
LED headlights produce a wider beam pattern that illuminates a larger area of the road, allowing drivers to spot obstacles, pedestrians, or road signs more easily. The color temperature of LED lights is closer to daylight, which helps reduce eye strain and improves visibility in various driving conditions. This advantage is particularly noticeable during nighttime driving, where the clarity and color accuracy of LED lights can make a significant difference in how well you perceive your surroundings.
Moreover, some LED headlights come with adaptive features that adjust the beam angle based on the vehicle's speed and steering, providing even better visibility while navigating curvy or uneven roads. These advanced systems often include features like automatic high beams that switch between high and low settings based on oncoming traffic, ensuring optimal illumination without blinding other drivers. This not only enhances safety but also contributes to a more comfortable driving experience, allowing you to focus on the road ahead rather than constantly adjusting your lights.
Necessary Tools for Installing LED Headlights
Proper installation of LED headlights requires specific tools to ensure that the process goes smoothly. Gathering these tools before starting will save time and frustration later on during the installation.
Basic Tools Required
To get started with installing LED headlights, you'll need the following basic tools:
- Socket wrench set
- Screwdriver set (both flat head and Phillips)
- Wire cutters and strippers
- Electrical tape or heat shrink tubing
- Gloves to protect your hands
Having these tools ready will facilitate a smoother installation process. If your vehicle requires special adapters or specific socket sizes for headlights, ensure to have those as well. It's also wise to have a multimeter on hand to check the voltage and ensure that the electrical connections are functioning properly. This can help prevent any potential issues that may arise from incorrect wiring, which could lead to flickering lights or even damage to the new LED units.
Safety Equipment Needed
Safety should always be a priority when working on your vehicle. Some essential safety equipment includes:
- Safety goggles to protect your eyes
- Work gloves to keep your hands safe
- A flashlight if you are working in low light conditions
Additionally, it's advisable to work on your vehicle in a well-ventilated area, ensuring proper light and protection from potential hazards. Consider using a mechanic's creeper or a sturdy mat to provide comfort while you’re working underneath the vehicle. This not only makes the task easier but also minimizes the risk of injury from awkward positions or sharp edges.
Pre-Installation Steps for LED Headlights
Once you have your tools and safety gear ready, you can begin preparing for the installation. This stage is crucial for ensuring the correct type and fit of the LED headlights you plan to install.
Choosing the Right LED Headlights
Selecting the appropriate LED headlights for your vehicle involves understanding both compatibility and performance. Check your vehicle's manual for specifications regarding headlight size and type. Additionally, consider the brightness rating, color temperature, and the beam pattern, as these will affect driving visibility.
It's also wise to read reviews or consult with automotive professionals to ensure that you are making an informed decision on the best LED headlights available for your vehicle model.
Preparing Your Vehicle for Installation
Preparing your vehicle is an essential step before diving into the installation. Start by disconnecting the battery to prevent any electrical issues during the installation.
Next, ensure that you have enough space to work by opening your hood fully and possibly using supports if necessary. It might also be helpful to clean the headlight area to make the installation process less cumbersome. Removing any dirt or debris can not only make it easier to see what you're doing but also helps prevent contamination of the new headlights during installation.
Step-by-Step Guide to Installing LED Headlights
With everything prepared, it's time to install your new LED headlights. Follow these simple steps to ensure a successful installation.
Removing the Old Headlights
Begin by removing the old headlights. This usually involves unscrewing retaining screws and gently pulling the headlight assembly away from the socket. Use caution, as some components may be delicate, and you don’t want to damage any connected wiring.
Once the assembly is removed, disconnect the wiring harness carefully.
Installing the LED Headlights
Now, take your new LED headlights and connect them to the wiring harness that you just unplugged. Ensure that the connections are secure and properly seated.
Next, carefully place the LED headlight assembly into the headlight socket. Align it properly and secure it with any screws or clips that are part of your vehicle's headlight assembly.
Securing and Testing the New Headlights
After installing the LED headlights, double-check that everything is secure. Reconnect the battery and test the new headlights to ensure they are functioning correctly. Check both the low beam and high beam settings, ensuring they illuminate as expected.
It’s also a good practice to check the beam alignment to optimize visibility on the road.
Troubleshooting Common LED Headlight Problems
If your LED headlights do not function correctly after installation, don't panic! Here are some common issues you may encounter and their solutions.
Flickering LED Headlights
Flickering can arise due to poor connections or compatibility issues with the vehicle's electrical system. Start by checking all wiring connections to ensure they are secure.
LED Headlights Not Working
If the headlights fail to illuminate completely, start by verifying that the wiring connections are intact. Also, examine the vehicle fuses.
Dim LED Headlights
Dim illumination could be due to inadequate voltage reaching the headlights. It’s important to check the connections and consider using a multimeter to analyze voltage levels.


