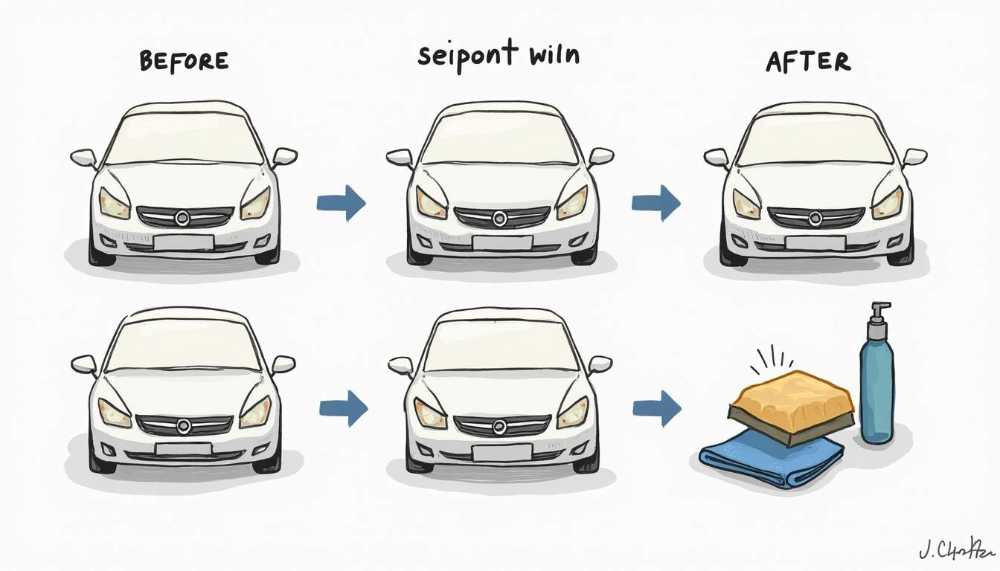
Cloudy headlights can be a significant issue for vehicle owners, impacting not only the aesthetic appeal of a car but also its safety on the road. Over time, headlights can become hazy or yellowed due to various factors, reducing visibility and increasing the risk of an accident. This guide will explore the causes of cloudy headlights, essential tools for restoration, a comprehensive step-by-step cleaning process, and common mistakes to avoid. By the end, you will have the knowledge needed to restore your headlights to their original clarity.
Understanding the Causes of Cloudy Headlights
Before diving into cleaning techniques, it’s essential to understand what causes headlights to cloud over time. Knowledge of the issues at play will help you take the necessary steps to prevent future damage.
Environmental Factors Leading to Headlight Oxidation
Environmental elements play a significant role in the deterioration of headlight clarity. UV rays from the sun can penetrate the protective coating on headlights, causing oxidation and resulting in a cloudy appearance. Other factors include pollutants, road grime, and chemicals that accumulate on the surface.
Additionally, exposure to harsh weather conditions, such as rain or snow, can further exacerbate the degradation of headlights. Regular exposure to these elements over the years will lead to the gradual wear of the protective layer, prompting the need for restoration. Furthermore, areas with high levels of air pollution can see accelerated headlight cloudiness due to the corrosive effects of particulate matter and chemical residues that settle on the lens.
Another often-overlooked factor is the impact of road salt, especially in regions that experience winter weather. This salt can cling to the headlights and, when combined with moisture, can create a corrosive environment that hastens the breakdown of the headlight's protective coating. Keeping your vehicle clean and free from these harmful substances can significantly prolong the clarity of your headlights.
Impact of Wear and Tear on Headlight Clarity
As vehicles age, wear and tear naturally occur, affecting various components, including headlights. Minor scratches and abrasions from debris, along with the effects of high temperatures, can degrade headlight materials, leading to cloudiness. Regular usage and routine maintenance can also contribute to this wear, making it essential to keep an eye on your headlights throughout the vehicle's lifespan.
Neglecting to address minor cloudiness can result in a more challenging restoration process later on, as the damage becomes more entrenched. Thus, understanding how wear and tear affects your headlights is vital for effective maintenance. Moreover, the type of driving conditions you frequently encounter can also influence the rate of wear. For instance, driving on unpaved roads or in areas with heavy construction can introduce more debris and dust, which can scratch and dull the surface of the headlights.
In addition to physical wear, the materials used in headlight construction can vary significantly between vehicle models. Some headlights are made from polycarbonate plastic, which is more susceptible to UV damage and scratches compared to glass lenses. Knowing the specific materials of your vehicle's headlights can help you choose the right cleaning and maintenance products to preserve their clarity and functionality over time.
Essential Tools for Headlight Restoration
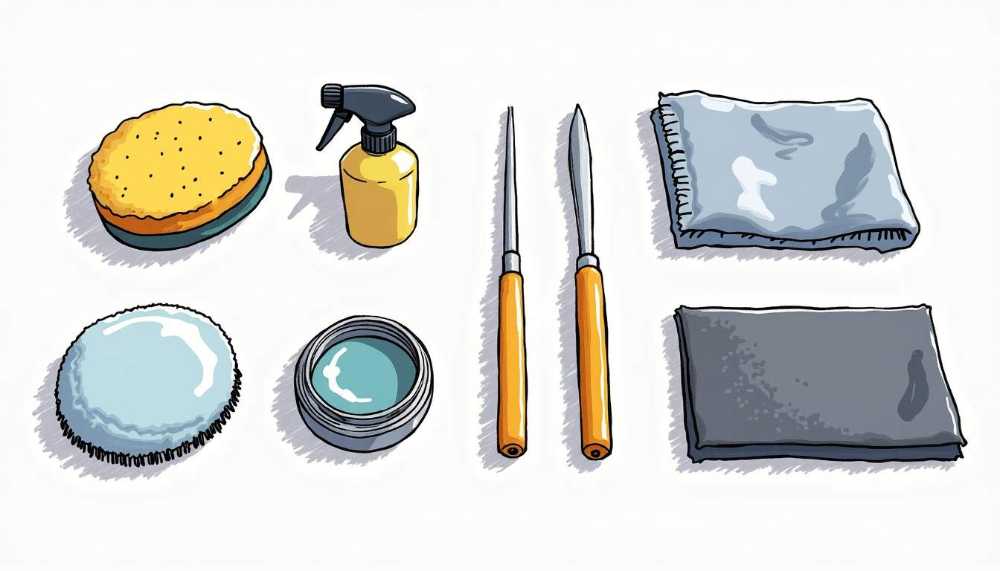
Once you understand the causes of cloudy headlights, the next step is gathering the necessary tools for restoration. Having the right tools will ensure a successful cleaning process and safeguard against potential damage.
Cleaning Solutions for Headlight Restoration
Various cleaning solutions can effectively restore the clarity of headlights. You can either purchase specific headlight cleaning kits available in the market or use household solutions. Popular cleaning agents include a mixture of baking soda and vinegar, toothpaste, or specialized automotive cleaners designed to remove oxidation.
When selecting a cleaning solution, consider its effectiveness and safety on plastic surfaces. Testing a small area is also a good practice to avoid any unwanted repercussions. Additionally, some people have found success using a mixture of dish soap and warm water as a gentle yet effective cleaning agent. This solution can help lift grime and dirt without causing harm to the plastic, making it an excellent first step before moving on to more abrasive methods.
Protective Gear for Safe Restoration
Safety is paramount when working on your vehicle. Wearing protective gear, such as gloves and goggles, is essential to protect yourself from potential irritants or chemicals that may splash during the cleaning process. Moreover, working in a well-ventilated area will help minimize inhalation of fumes, allowing for a safer working environment.
In addition to gloves and goggles, consider wearing a mask if you are sensitive to dust or chemical odors. This extra layer of protection can be particularly beneficial when sanding or using strong cleaning agents. Furthermore, having a drop cloth or tarp beneath your work area can help catch any drips or spills, ensuring that your driveway or garage floor remains clean and free from stains. Ensuring that you are adequately equipped will make the headlight restoration process smoother and more secure.
Step-by-Step Guide to Cleaning Cloudy Headlights
With tools and cleaning solutions in hand, you can now proceed to restore your cloudy headlights. Follow these steps to achieve brilliant clarity.
Preparing Your Headlights for Cleaning
Begin by rinsing the headlights with water to remove any loose dirt and debris. This initial wash helps prevent scratches during the cleaning process. Use a soft cloth or sponge to wipe down the surface gently.
Once rinsed, if necessary, dry the headlights thoroughly with a microfiber towel. This step ensures no water spots are left that could interfere with the cleaning solution. It’s also a good idea to inspect the headlights closely for any cracks or significant damage that may require professional attention, as these issues can affect the effectiveness of your cleaning efforts.
Applying the Cleaning Solution
Next, apply your chosen cleaning solution to a clean cloth or directly on the headlight surface. Follow the product instructions, ensuring you apply even pressure while rubbing the solution onto the plastic. You should see immediate results as the oxidation begins to break down.
Allow the solution to sit for a few minutes if recommended, ensuring you avoid letting it dry completely before wiping it off. Rinse the headlights with water to remove any leftover cleaning residue, which could lead to streaks. If you’re using a homemade solution, such as a mixture of baking soda and vinegar, be sure to test it on a small area first to ensure it doesn’t cause any damage to the headlight lens.
Polishing and Buffing the Headlights
Once you’ve cleaned the headlights, use a soft buffing pad or a clean cloth to polish the surface gently. This buffing process will help restore shine and clarity. Circular motions are typically recommended for even results.
After buffing, rinse again to remove any dust or residue. You'll likely notice a remarkable difference in clarity at this point, but the restoration will only be complete with further protection. To maintain that clarity, consider applying a UV sealant or a protective wax specifically designed for headlights. This additional step not only enhances the shine but also helps prevent future oxidation, keeping your headlights looking brand new for longer. Regular maintenance, such as periodic cleaning and reapplication of the sealant, can significantly extend the life of your headlights and improve nighttime visibility while driving.
Restoring the Shine of Your Headlights
After cleaning, the next step involves restoring the shine and ensuring that the headlights remain clear for the long term.
Sealing and Protecting Your Headlights
Applying a sealant is crucial to protect the headlights from future oxidation. Various headlight sealants can be found in auto care sections, designed explicitly for this purpose. Follow the product instructions for application, typically requiring a simple wipe-on process.
This sealant acts as a barrier against UV rays and road grime, helping maintain the clarity achieved through the cleaning process. Regular application of sealant every few months can greatly prolong the results.
Maintaining the Clarity of Your Headlights
Regular maintenance is necessary to keep headlights in optimal condition. Consider washing your headlights during routine car washes to prevent dirt buildup. In addition, a quick wipe with a clean cloth can help remove dust and grime that may cause clouding over time.
Furthermore, inspecting your headlights periodically for any signs of damage or wear will allow you to address issues before they become significant problems. This proactive approach will help ensure your headlights remain clear and functional.
Common Mistakes to Avoid in Headlight Restoration
While headlight restoration can be straightforward, there are common mistakes that many DIYers make which can compromise the results.
Avoiding Damage During the Restoration Process
One common mistake is using abrasive materials that can scratch the surface of the headlights. Avoid scouring pads or harsh chemicals, as these can do more harm than good. Stick to soft cloths and gentle cleaning agents to achieve the best results without damaging the plastic.
Additionally, failure to follow the product instructions or skipping essential steps, such as rinsing at the appropriate times, can lead to disappointing results. It's crucial to follow a systematic approach for optimal outcomes.
Preventing Future Cloudiness in Headlights
Lastly, one of the most effective ways to maintain the clarity of your headlights is to apply preventative measures. Regularly sealing your headlights and washing them will help mitigate the effects of environmental damage.
Consider parking your vehicle in shaded areas or using a car cover to limit direct UV exposure. These small changes can significantly extend the life of your headlights, keeping them clear and functional for years to come.
In conclusion, understanding the causes and processes involved in restoring cloudy headlights can make a significant difference in both safety and appearance. With these guidelines, you can take proactive steps to maintain your headlights, ensuring they remain clear and effective for all your driving needs.


